


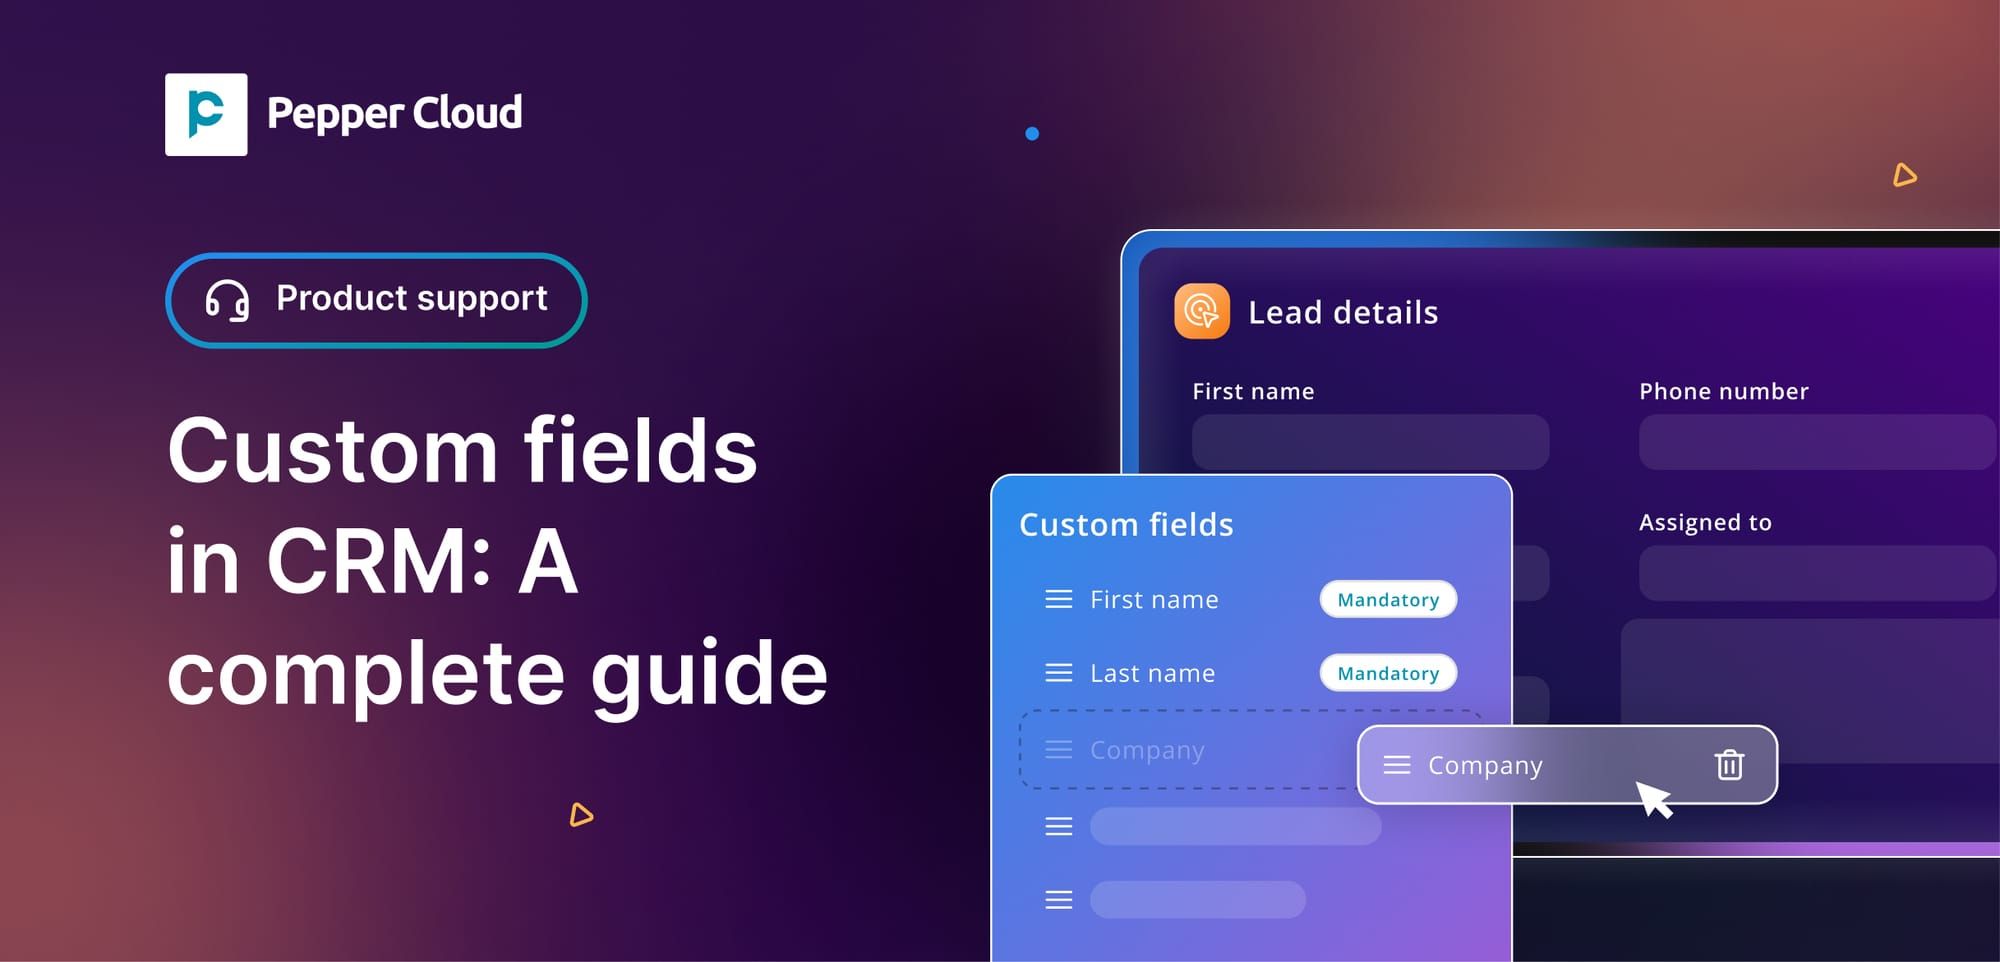
A guide to creating and managing custom fields in CRM
Learn how to create and manage custom fields in Pepper Cloud CRM to capture specific information important to your business. Discover the types of custom fields, how to add data to new and existing records, and how to customise views.
If you are a business owner, you know how important it is to capture and track relevant information about your leads, contacts, opportunities, and account. However, sometimes the standard fields in your CRM might not be enough to capture the specific information that is important to your business. This is where custom fields can be useful.
In this blog, let’s look into:
- What are custom fields?
- How to create a custom field in Pepper Cloud CRM?
- Adding data into custom fields
- Managing custom fields
What are custom fields?
Custom fields in CRM are additional fields that the user can create to capture specific information that is relevant to the business. These fields are designed to complement the existing standard fields within the CRM, allowing the user to capture and track data that is unique to the business requirements.
In Pepper Cloud CRM:
- The user can create custom fields in all the business modules (Accounts, Contacts, Leads, Opportunities, Tasks)
- The user can create various types of custom fields such as phone number, percentage, URL, Text, Multiselect, Picklist, Rich text, Text area, Checkbox, Date, Number, and Email.
Some examples of custom fields include:
- Billing ID
- Gender
- Referred by
- Interested product
- Alternative contact number
- Discount Percentage
- Website address
- Preferred contact time
- Alternative email address
- Shipping time
- Renewal date
- Purchase terms
- Lead source
- Demographics
How to create a custom field in Pepper Cloud CRM?
Note: Custom fields can be created only by Admins.
Here are the steps to create a new custom field:
1. Login to CRM
2. Navigate to customisation by clicking the settings icon (gear icon) in the top-right corner.
3. Select “Custom Fields”.
4. Click “Customise” on any of the modules (Account, Contact, Lead, Opportunity, Task) to customise that particular module.
4. Click “Create New” on the next screen.
5. Select the type of custom fields. Click “Next”.
6. Edit the field and turn on the toggle of “Mandatory” if need be. The user can choose the other modules where they would like to create the custom field. “Save” it.
The custom field will be created successfully in the respective module.
Adding custom field data into records
The custom field values can be added to the new records as well as the existing records.
Adding custom field data in new records
Here are the steps to add custom field data in new records:
1. Go to the respective module (Lead, Contact, Opportunity, Account, Task).
2. Click the “Create New” button which is on the top-right corner.
3. Fill in the primary details. On the same screen, the custom fields will be listed as well. The user can fill in the custom fields with necessary data and “Save it”
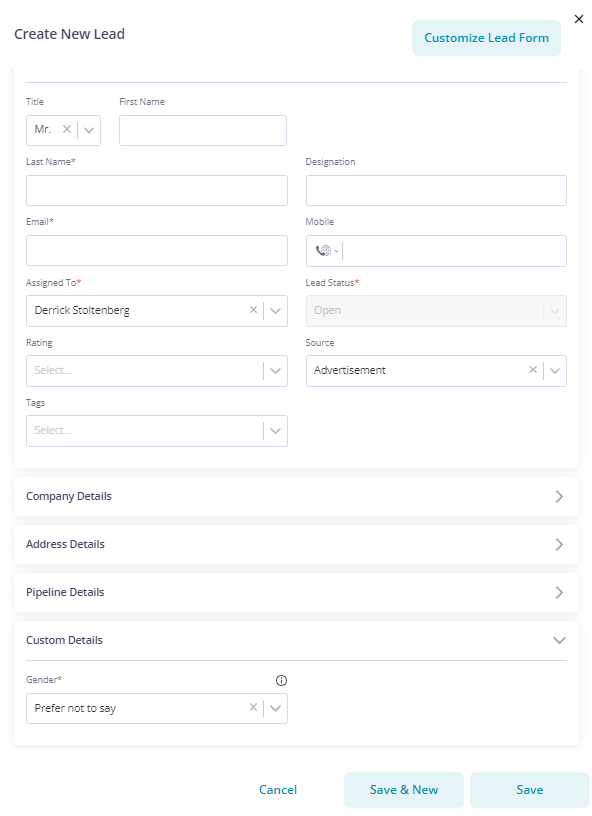
Adding custom field data in existing records
The user can also click on the More button (three dots) next to the records in the respective business module, navigate to the edit screen, and update the record.
To quickly add custom field data to an existing record, the user can click on the edit icon (pen icon) next to the custom field column. This will enable the user to efficiently update the field data without any hassle.
Note: To add the custom field data quickly, the user will have to add the custom field to the View first.
Adding the custom field to the View
To add the custom field to the View, the user needs to customise the View. Here are the steps:
1. Click on the “View” button on top of the listing screen on the business module.
2. Edit the View by clicking on the pen icon.
3. Search the column name and click on it to add it to the View columns. Rearrange the custom fields if required.
4. Click “Update”. The custom field will be visible on the listing screen.
Custom fields in CRM are a key component of any successful business strategy. By leveraging this feature, you can gain valuable insights into your customers and operations, improve your marketing efforts, and ultimately drive business growth. We hope that this post has been helpful in explaining the benefits of custom fields and providing practical advice on how to use them effectively. If you are still in doubt, talk to our friendly support team.
